


Introduction
Want a unique keyboard setup without breaking the bank? DIY keycap dyeing is a classic way to give your old, faded PBT keycaps a fresh, custom look. While the process is rewarding, it requires precision and the right materials to avoid a "meltdown" (literally).
In this guide, we’ll walk you through how to safely dye your keycaps at home, why PBT is the only way to go, and when it might be time to skip the DIY and upgrade to something more permanent, like ceramic keycaps.
Why Dye Your Keycaps?
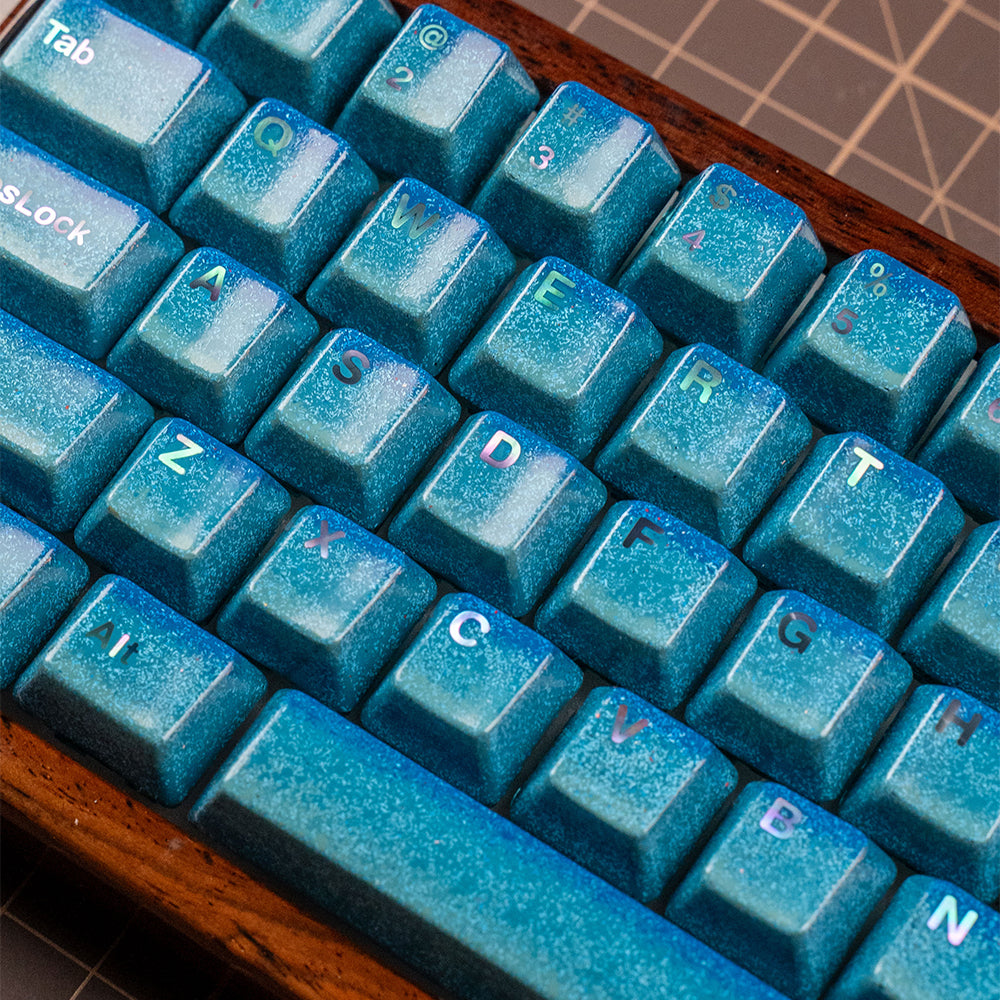
Most enthusiasts choose to dye their keycaps to achieve specific colorways that aren't available on the market. Unlike painting, which can peel or feel sticky, dyeing penetrates the plastic surface, ensuring the texture remains relatively unchanged and the color lasts longer.
Crucial Note: You can only dye PBT keycaps. ABS keycaps have a much lower melting point and will warp or melt into a plastic puddle in boiling water. Always check your material before starting!
What You Will Need
To get professional-grade results, gather these supplies:
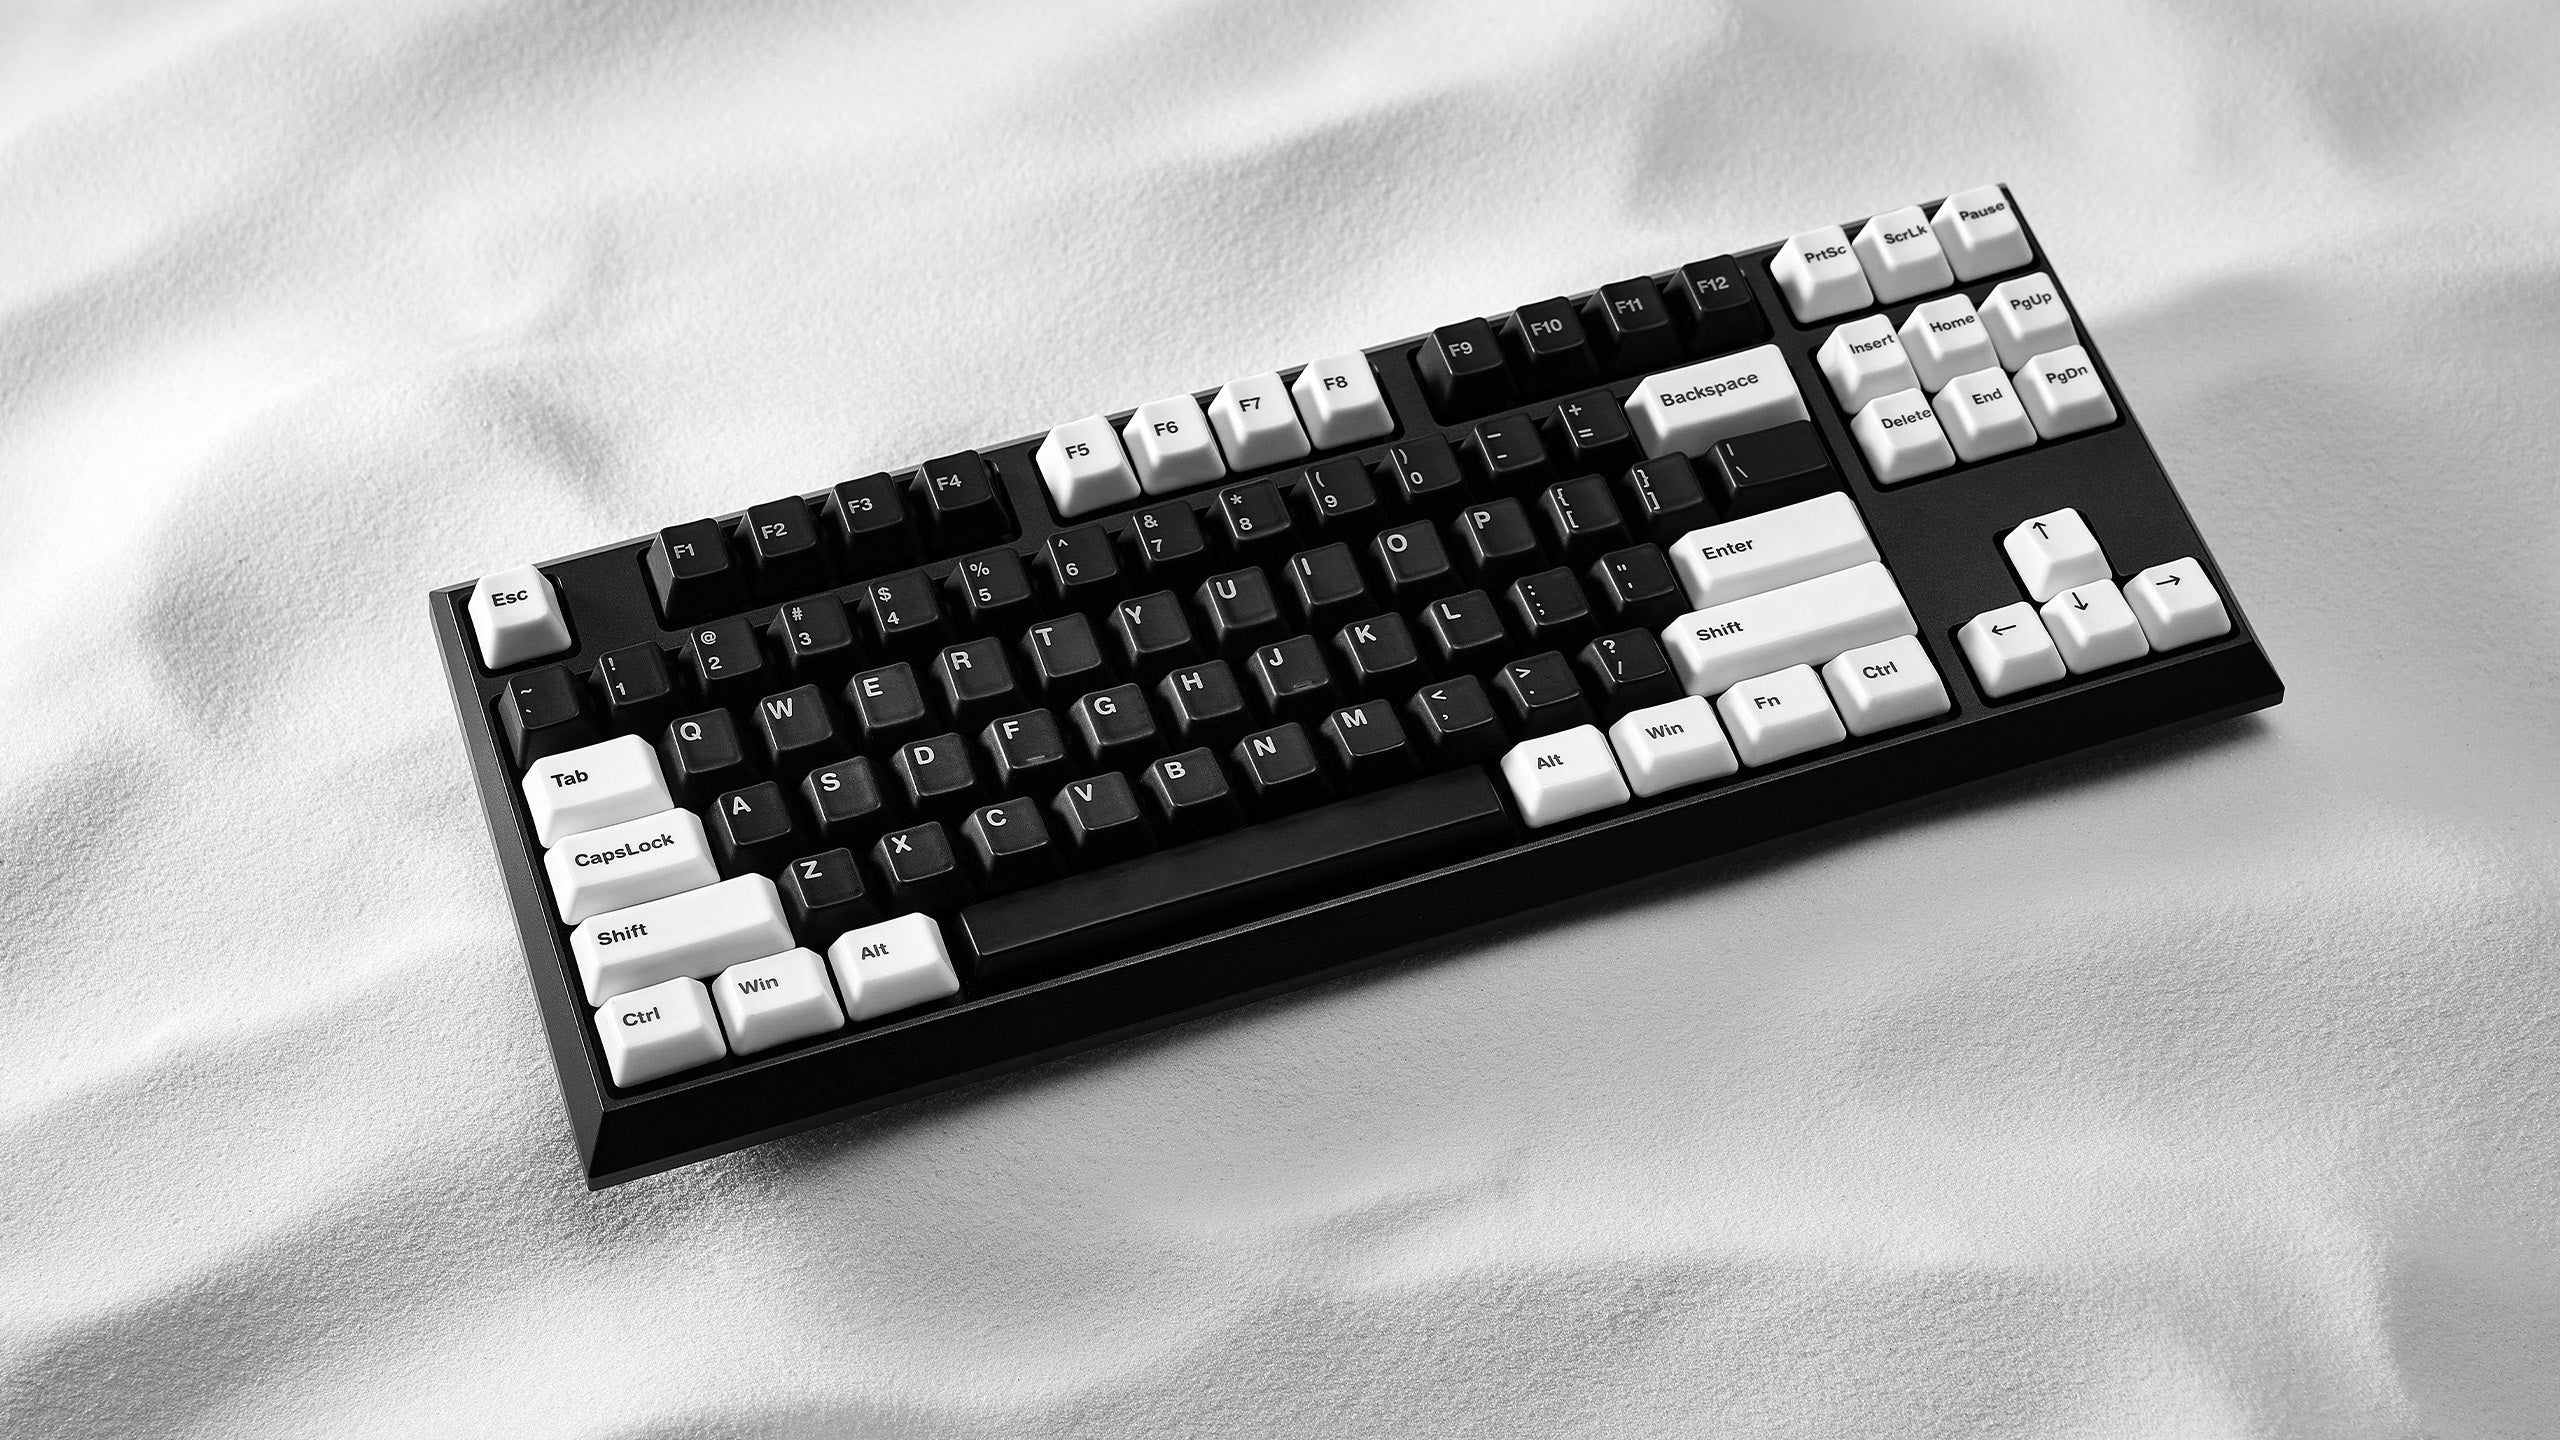
- PBT Keycaps: Light colors (white or light grey) work best.
- Synthetic Fabric Dye: We highly recommend iDye Poly or Rit DyeMore (specifically for synthetics).
- A Stainless Steel Pot: Do not use aluminum; dye can react with it.
- Dish Soap: For pre-cleaning.
- Tongs or a Strainer: To move the keycaps.
- Thermometer: To monitor water temperature (crucial for consistency).
Step-by-Step Guide: How to Dye PBT Keycaps
Step 1: Deep Clean Your Keycaps
Even invisible oils from your fingers can cause uneven coloring. Wash your keycaps in warm water with a bit of dish soap. Rinse thoroughly and air dry.
Step 2: Prepare the Dye Bath
Fill your pot with enough water to fully submerge the keycaps. Heat the water to about 80°C - 90°C (176°F - 194°F).
- Pro Tip: Do not let the water reach a rolling boil (100°C), as it increases the risk of warping the PBT.
Step 3: Add the Dye
Follow the instructions on the dye packet. Usually, you’ll dissolve the dye in the hot water first. Stir well to ensure no clumps remain, as these can cause "speckling" on the keycap surface.
Step 4: The Dyeing Process
Place your keycaps into the pot (using a strainer is easiest). Stir constantly! This ensures the dye hits all sides of the keycap evenly.
- Timing: Check a "test keycap" every 2-5 minutes. The longer they soak, the deeper the color.
Step 5: Rinse and Set
Once you’ve reached your desired shade, immediately move the keycaps into a bowl of cold water to stop the dyeing process. Wash them once more with soap to remove any excess dye.
Common Pitfalls & How to Avoid Them
- Inconsistent Color: Stirring is not optional. If you don't stir, the caps at the bottom will be darker.
-
Legend Disappearance: If your keycaps are dye-sublimated, the new dye might obscure the original legends. Double-shot PBT keycaps usually hold up better.
- The "Warpage" Issue: Even PBT has limits. If the water is too hot for too long, your spacebar might come out looking like a banana.
The Upgrade: Why Many Enthusiasts Are Moving Beyond Dyeing
DIY dyeing is fun, but it has its limits: the color can still fade over years, and you are limited by the base color of the plastic.
If you’re looking for unmatched color depth, zero fading, and a premium "thocky" sound, this is where Cerakey Ceramic Keycaps come in.
- Permanent Color: Our ceramic glaze is fired at extreme temperatures. Unlike dye, it will never fade, peel, or wear off.
- Better Backlighting: Ceramic provides a unique glow that dyed plastic simply can't replicate.
- Effortless Customization: Skip the boiling pots and the mess. Our sets come in curated, artistic colors that offer a far more premium feel than any DIY project.
Explore Cerakey Ceramic Collections →
FAQ
Q: Can I dye black keycaps?
A: No. Dyeing is an additive process. You can only go from lighter colors to darker colors.
Q: Will the dye rub off on my fingers?
A: If you use synthetic-specific dye (like iDye Poly) and rinse thoroughly, it shouldn't rub off. However, the friction of typing will eventually wear the surface over 1-2 years.
Conclusion
Dyeing your PBT keycaps is a fantastic weekend project for any mechanical keyboard hobbyist. It adds a personal touch to your desk setup. But if you’re tired of the plastic feel and want a permanent, high-end upgrade, Ceramic is the next frontier.
Deixar comentário
Este site é protegido por hCaptcha e a Política de privacidade e os Termos de serviço do hCaptcha se aplicam.