Your keyboard is an essential part of your daily work and entertainment, but dust and grime on the keycaps can be a major nuisance. Keeping your keyboard clean not only extends its lifespan but also enhances your experience. Today, we'll share some simple steps to help you effectively clean your keycaps and make your keyboard look brand new.
Preparation
First, gather the necessary cleaning tools and materials:
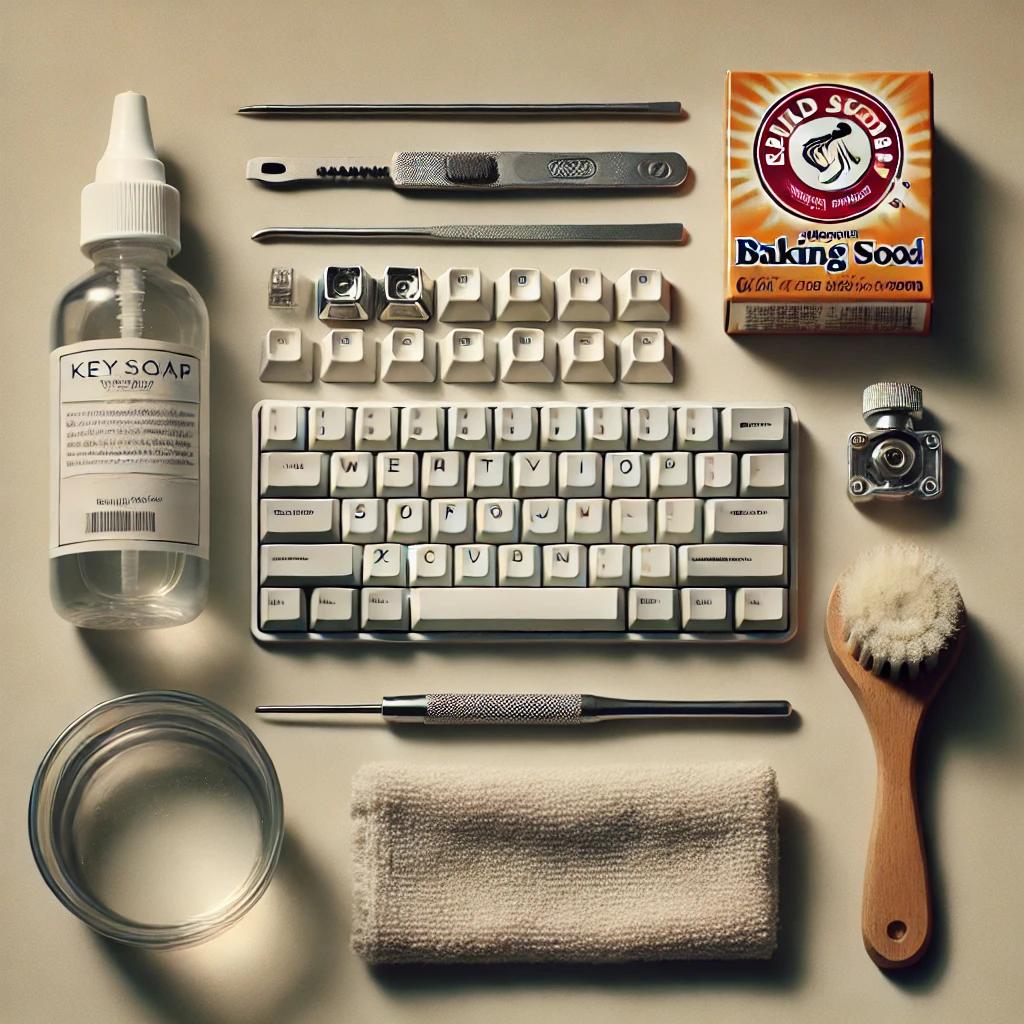
- Tools and Materials: A small screwdriver or keycap puller, warm water, mild dish soap, baking soda, a soft cloth, or a soft brush.
- Power Off and Unplug the Keyboard: Before cleaning the keycaps, ensure the keyboard is powered off and unplugged from the computer to prevent any electrical accidents.

Step 1: Remove Keycaps
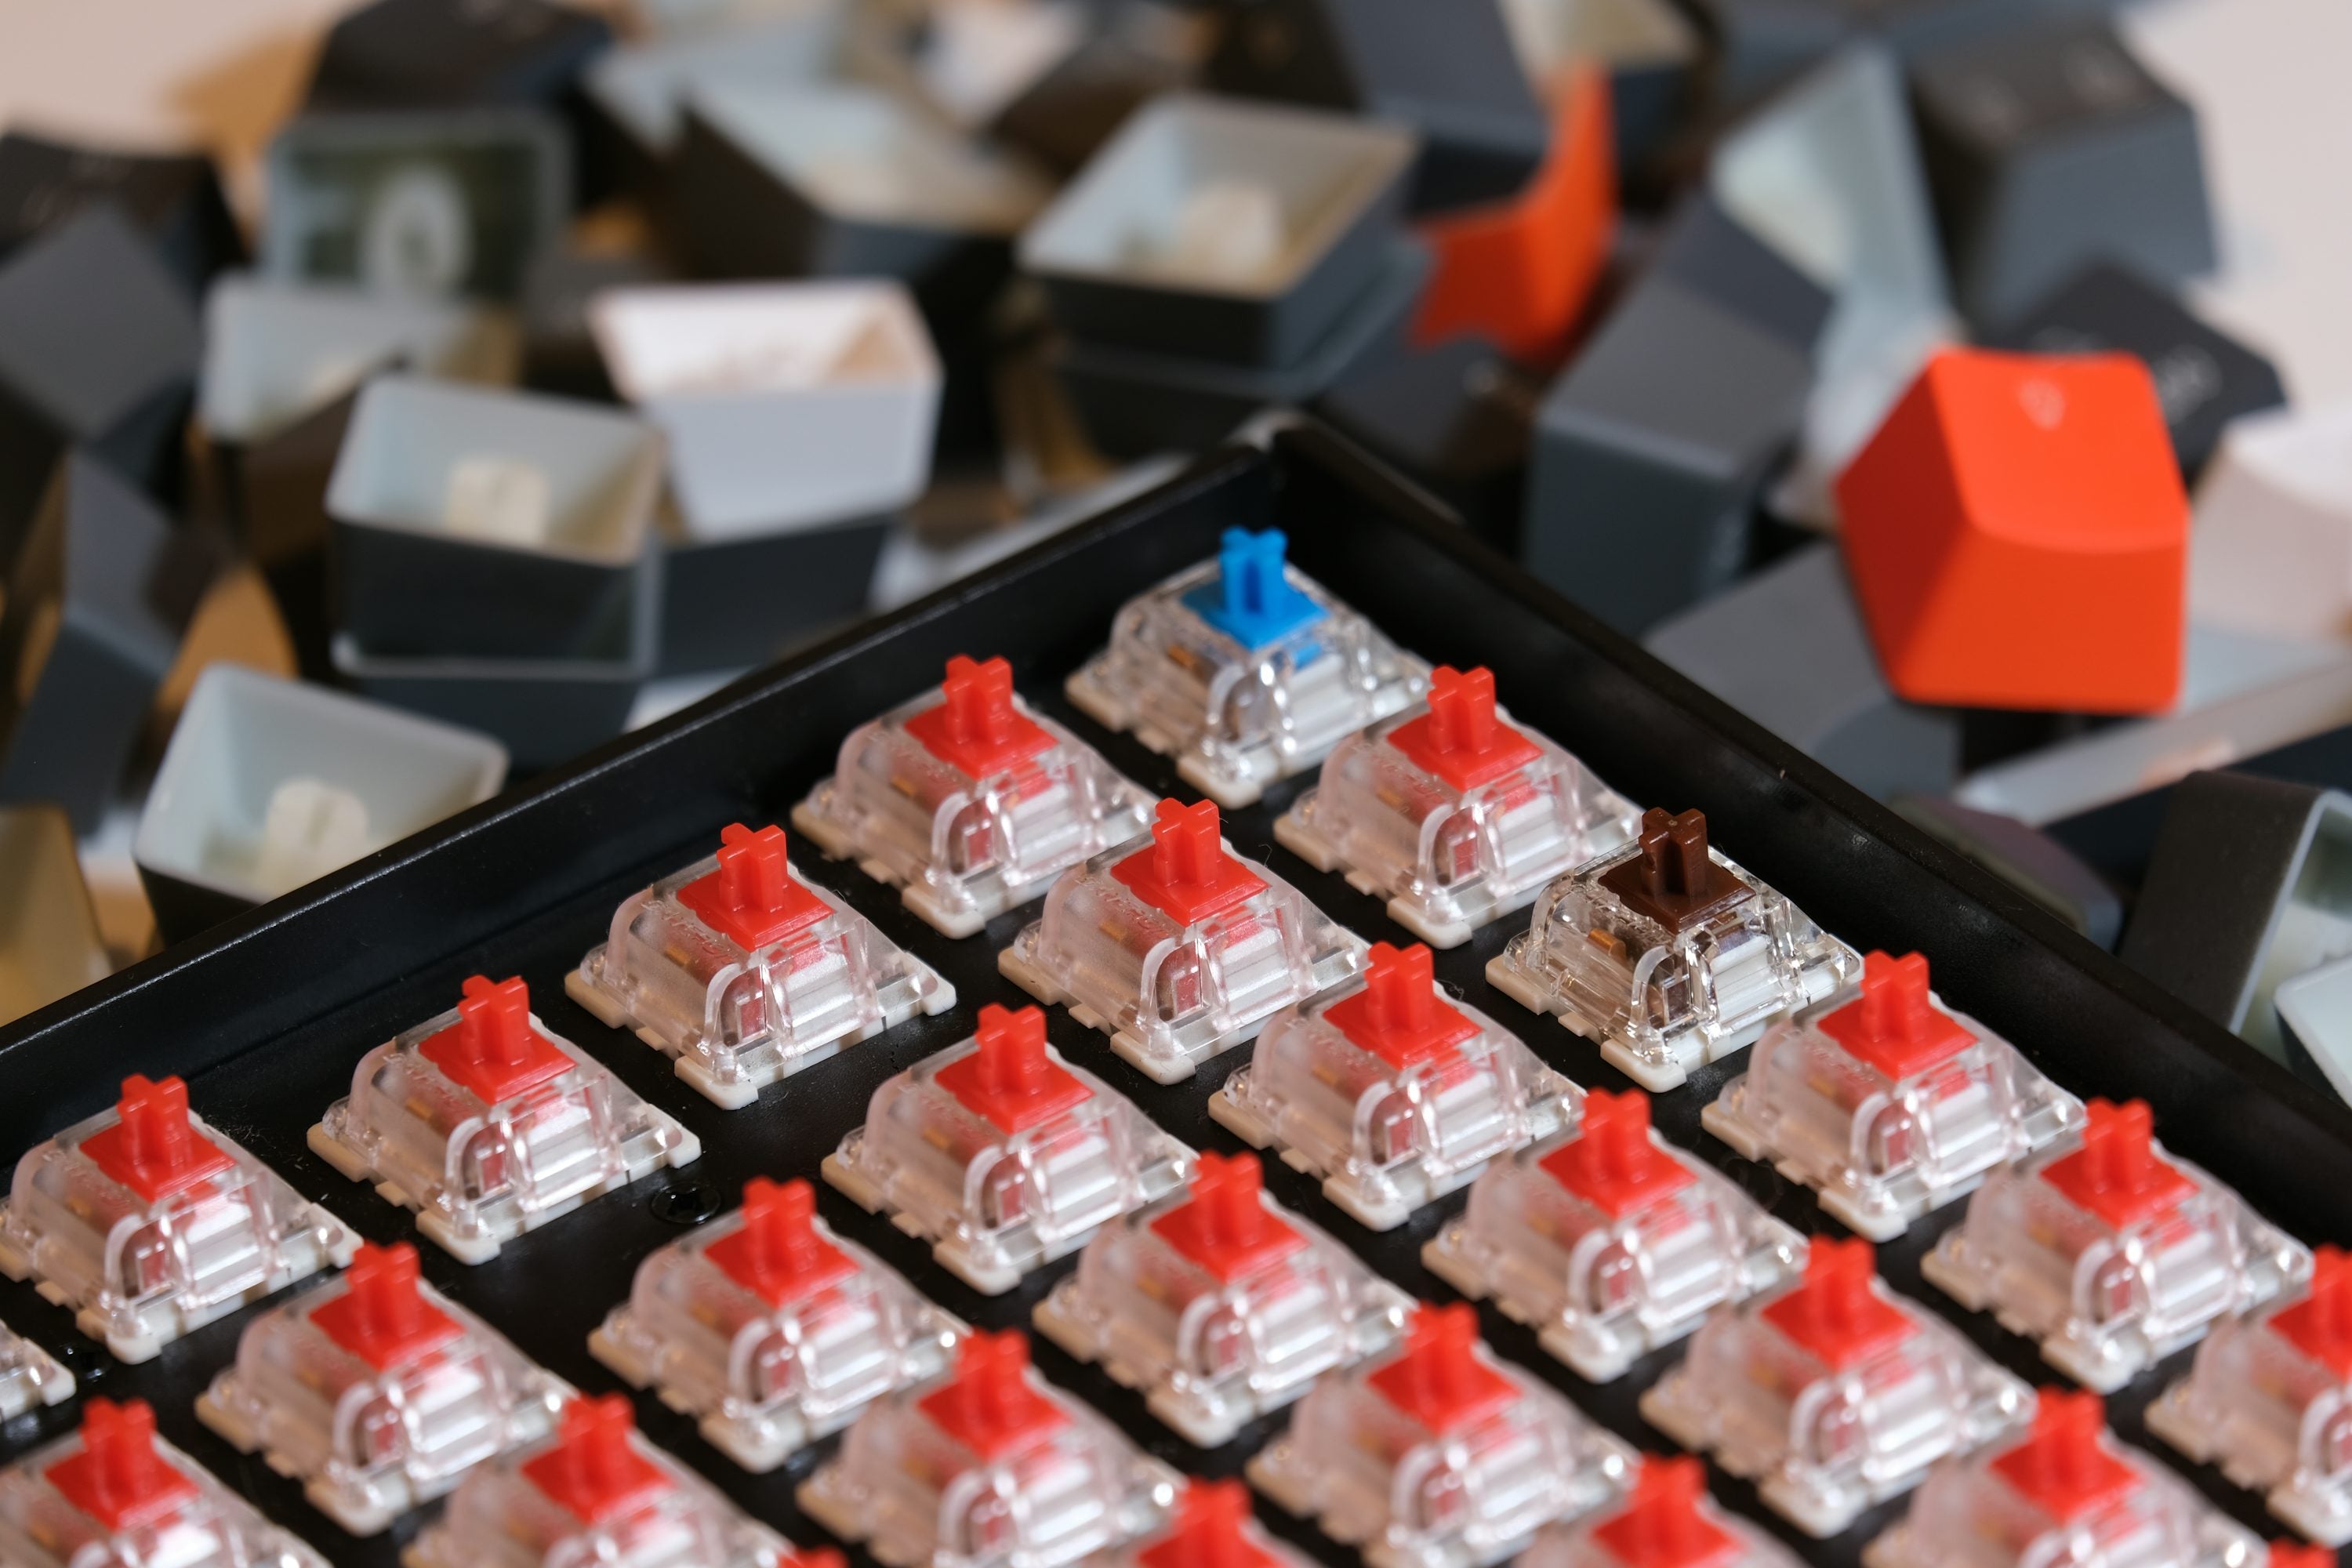
Use a keycap puller or a small screwdriver to carefully remove the keycaps from the keyboard. Be gentle to avoid damaging the keycaps or the keyboard switches. It's helpful to place the removed keycaps in order for easy reassembly later.

Step 2: Pre-Cleaning
Before washing, use a clean soft brush or a can of compressed air to remove loose dust and debris from the keycaps. This step helps prevent scratches during the cleaning process.

Step 3: Soak and Clean
Fill a container with warm water and add a small amount of mild dish soap. Soak the removed keycaps in the water for 10-15 minutes to loosen stubborn dirt. Then, gently scrub the keycaps with a soft cloth or brush to remove any grime. For tough stains, you can make a paste with baking soda and a little water, then gently rub it on the keycaps.

Step 4: Rinse and Dry
Rinse the cleaned keycaps thoroughly with clean water to remove any soap residue. Pat them dry with a clean towel and then place the keycaps in a well-ventilated area to air dry completely. Make sure the keycaps are completely dry before reattaching them to avoid damaging the keyboard.

Step 5: Reassemble Keycaps
Once the keycaps are fully dry, reinstall them onto the keyboard in the correct order. Gently press down on each keycap to ensure it is securely attached to the switch. While simple, this step requires attention to the position and direction of each keycap.

Step 6: Cleaning and Maintenance
Regular maintenance is also important. It's recommended to clean the keyboard surface and the gaps between the keycaps regularly to prevent dust buildup. Use a can of compressed air or a soft brush to remove daily dust, keeping your keyboard clean and extending its lifespan.

By following these steps, you can easily complete the keycap cleaning process and make your keyboard look like new. Regular cleaning and maintenance not only keep your keyboard looking great but also improve your work and entertainment experience. We hope this guide has been helpful. Now, go ahead and give your keyboard a thorough cleaning!


Hinterlasse einen Kommentar
Diese Website ist durch hCaptcha geschützt und es gelten die allgemeinen Geschäftsbedingungen und Datenschutzbestimmungen von hCaptcha.