

Let’s be honest: you didn’t just stumble onto this page by accident. You’ve likely heard that deep, satisfying "thock" on YouTube or TikTok, and you want that feeling on your own desk.
Transitioning from a standard membrane keyboard to a custom mechanical board isn't just about "better typing." It’s about building a tool that feels like an extension of your own hands. But the hobby is a deep rabbit hole, and it’s easy to waste money on the wrong parts.
As someone who spends way too much time obsessing over materials and acoustics, here is the no-nonsense guide to building your first custom board.
1. The Foundation: Don’t Overcomplicate the Case
If you are just starting out, don't hunt for a $500 aluminum chassis right away. Focus on the features.
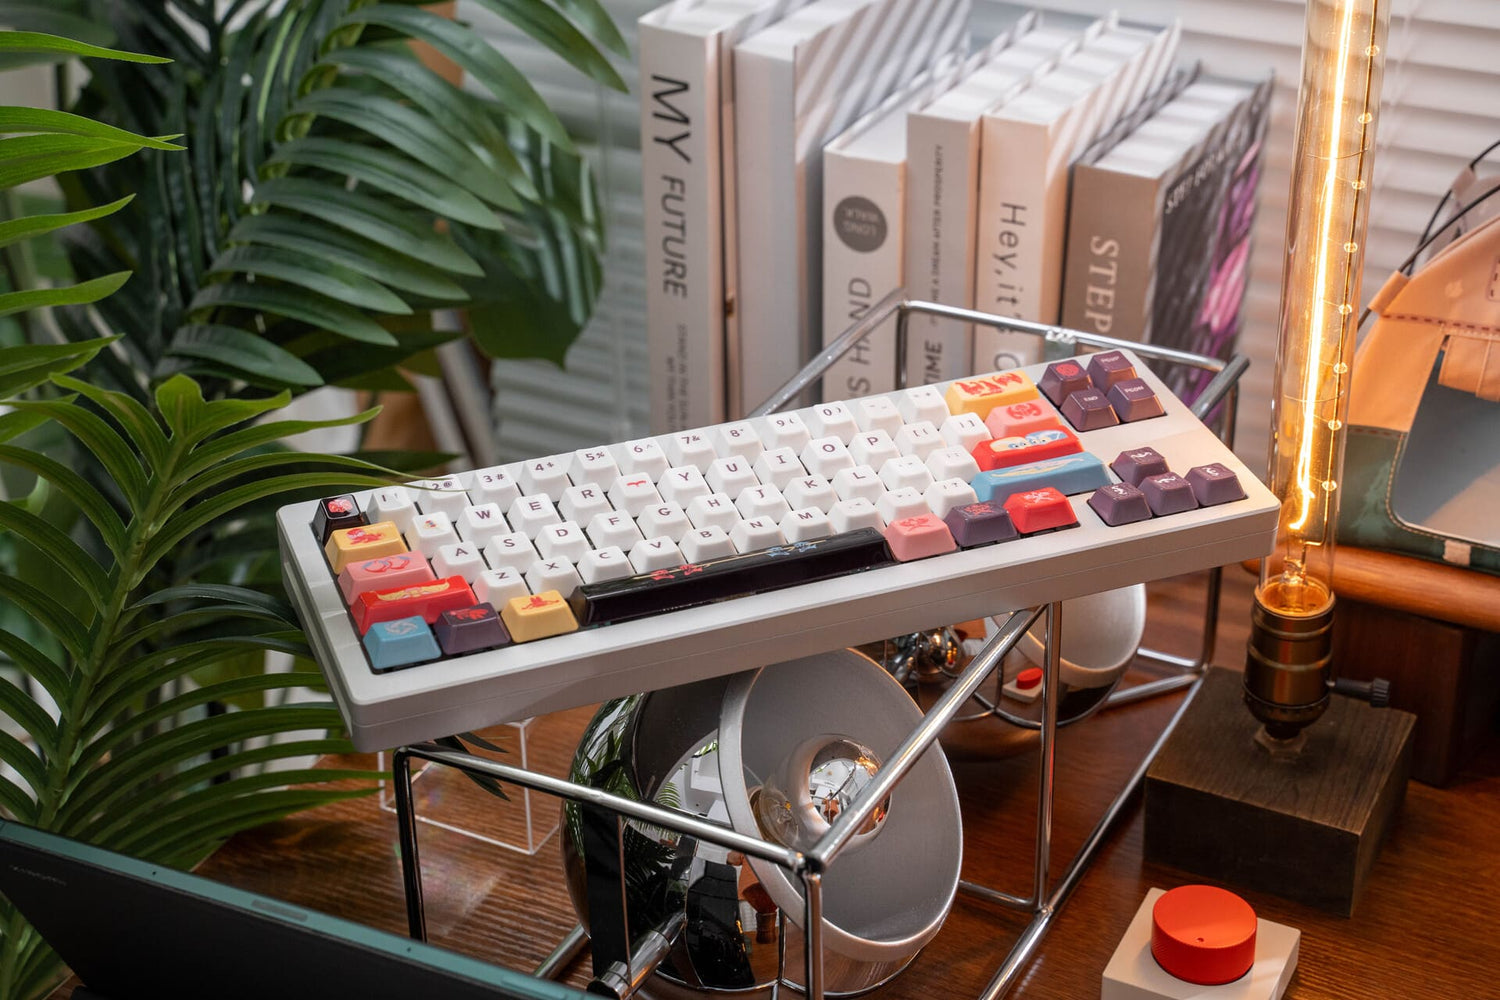
- The Layout: I highly recommend a 75% layout. It retains the function row (essential for work/shortcuts) while giving you more desk real estate for your mouse. It’s the "Goldilocks" size for both gaming and productivity.
- The PCB: Ensure you get a Hot-swappable PCB. This is non-negotiable in 2026. It allows you to swap out switches in seconds without touching a soldering iron. It future-proofs your board.
2. Switches: It’s All About Preference
Switches are the "engine" of your keyboard. Don't worry about the brand names too much; focus on the type of feeling you want.
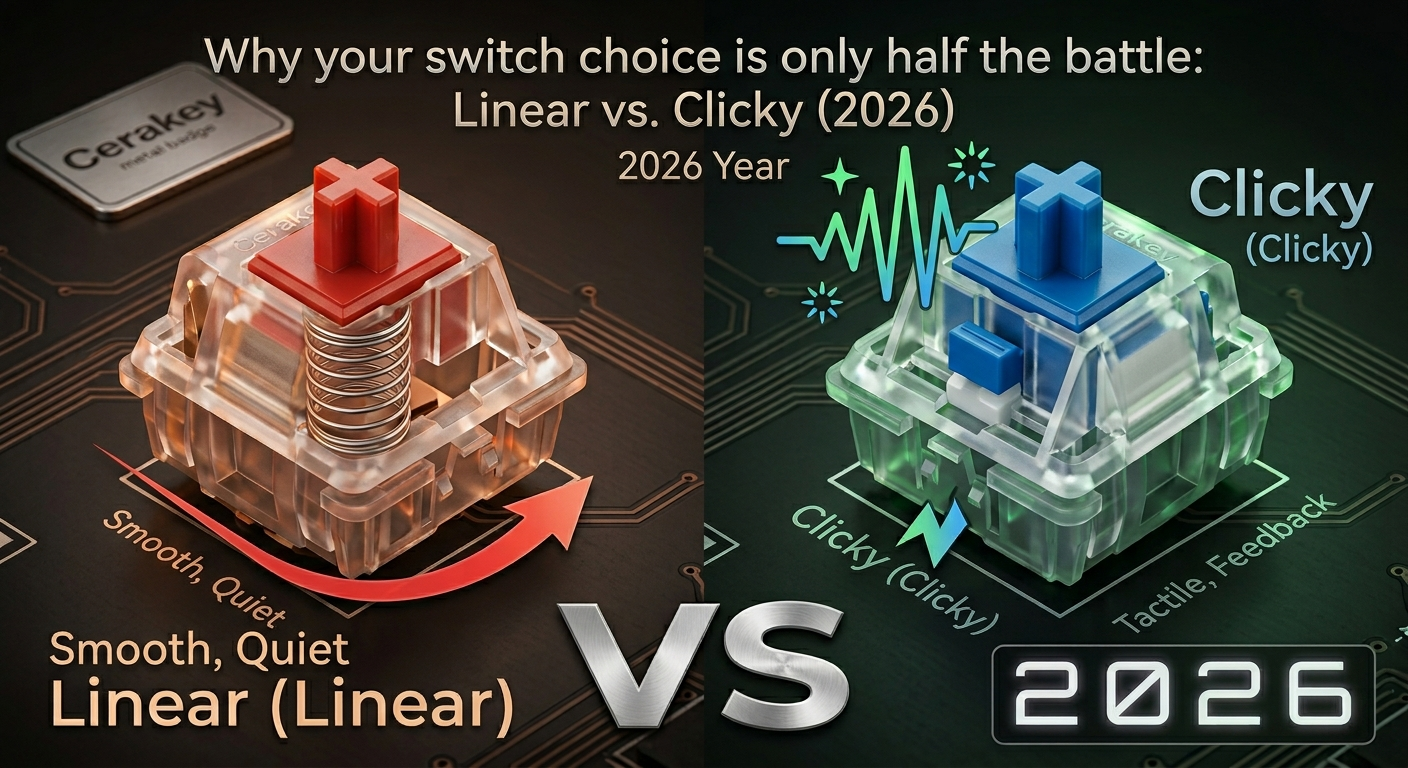
- Linear: Smooth, consistent, and quiet. Great for gaming and fast typists.
- Tactile: That distinct "bump" you feel right before the key registers. Highly recommended for people who do a lot of coding or writing—it helps prevent errors.
- Clicky: Loud and crisp. Unless you work in a private office, your coworkers might not appreciate these. Use with caution.
3. The Secret to the "Thock": Keycaps & Material Science
If you’ve ever wondered why your board sounds "hollow" or "scratchy" compared to the videos online, it’s usually the keycaps. Most stock boards come with thin ABS plastic. They sound thin because, well, they are thin.
The material you choose changes the sound profile entirely.
| Material | Feel | Sound Profile |
| ABS Plastic | Smooth, gets shiny over time | High-pitched, clacky, often hollow |
| PBT Plastic | Textured, dry, durable | Mid-range, deeper thud |
| Ceramic | Cool-to-touch, premium, silky | Deep, rich, "Thocky" resonance |
Pro Tip: If you want to achieve that premium, studio-quality sound, look at high-density materials like ceramics. They don't just feel better; they physically change the acoustics of the keystroke by absorbing the harsh high-frequency vibrations that make cheap keyboards sound like toys.
4. The "Modding" Difference
You can take a mid-range keyboard and make it sound like a $1,000 custom build with two simple mods:
- Case Foam: Most budget keyboards have empty space inside the case that echoes. Adding a layer of foam (or PE foam) absorbs that resonance.
- Lubing: It sounds tedious, but lubing your switches and stabilizers removes the "scratchy" noise of plastic rubbing against plastic. It turns a "good" keyboard into a "buttery smooth" experience.
The Bottom Line
The goal of this hobby isn't to build the most expensive keyboard. It's to build a keyboard that makes you want to sit down and type.
Start with a solid 75% hot-swap base, pick a switch that matches your typing style, and invest in a quality keycap set. That's the trifecta for a setup that feels like it’s worth twice what you paid.

Để lại bình luận
Trang web này được bảo vệ bằng hCaptcha. Ngoài ra, cũng áp dụng Chính sách quyền riêng tư và Điều khoản dịch vụ của hCaptcha.