


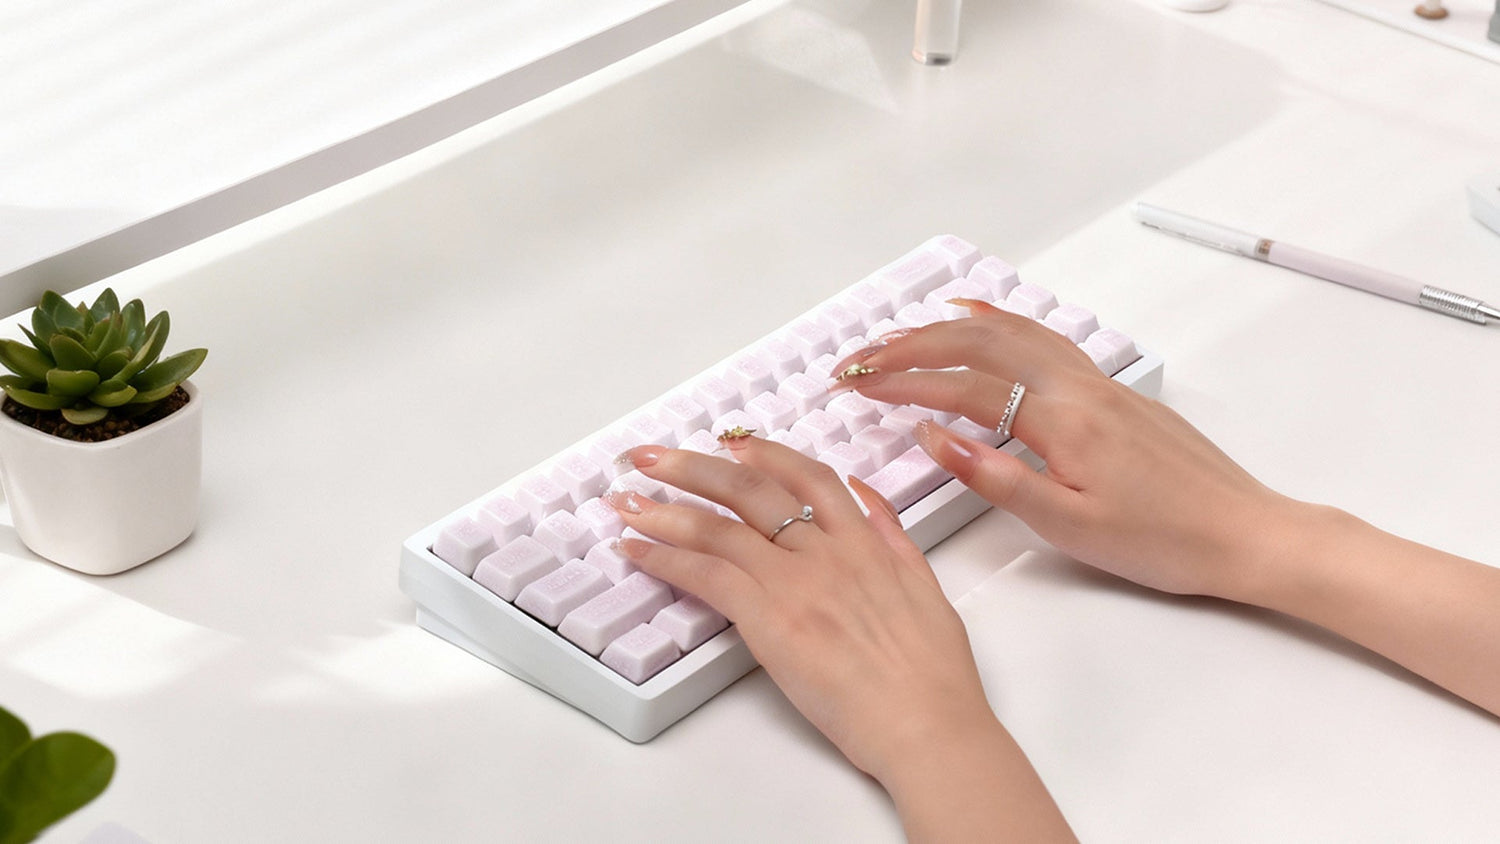
Nothing ruins a productive flow like a sticky switch or a sudden spill on your favorite mechanical keyboard. Whether you're staring at a stuck 'Enter' key or frantically dabbing away a morning coffee mishap, don't panic—most keyboard issues are easily fixable with the right approach. In this guide, we’ll walk you through 6 simple, enthusiast-approved steps to deep clean your board. From safely removing keycaps to handling delicate components, you’ll learn how to restore that satisfying, 'out-of-the-box' typing feel while protecting your investment—whether you're rocking standard plastic or premium, oil-resistant ceramic keys.
1. Power Down and Unplug Your Keyboard
Before starting any cleaning process, it’s important to make sure that your keyboard is powered off and unplugged. This is especially critical for wired keyboards, as it prevents accidental key presses and ensures safety when working with cleaning materials.
For wireless keyboards:
If you’re using a wireless mechanical keyboard, remove the batteries or turn off the power switch to avoid any issues during the cleaning process.
2. Remove the Keycaps
One of the most effective ways to clean your mechanical keyboard is by cleaning each keycap individually. To do this, you’ll need a keycap puller — a simple tool that allows you to safely remove the keycaps without damaging the switches.
How to Remove Keycaps:
- Place the keycap puller under a keycap.
- Gently pull up until the keycap comes off. You may need to do this for each key on the keyboard, especially if you want to do a deep clean.
- Set the keycaps aside in a safe place.
By removing the keycaps, you gain access to the switches and the keyboard surface, which makes cleaning much easier and more thorough.
3. Clean the Keycaps
Once the keycaps are removed, you can focus on cleaning them. Over time, keycaps accumulate dirt, oils, and dust, but they’re easy to clean with the right tools.
How to Clean Keycaps:
- Soak them: Fill a small bowl with warm water and a few drops of mild dish soap.
- Submerge the keycaps in the water for about 10-15 minutes to loosen any grime.
- Use a soft brush: After soaking, gently scrub each keycap with a soft brush (like an old toothbrush) to remove dirt and oil.
- Rinse and dry: Rinse the keycaps thoroughly with clean water and let them dry completely before reattaching them to the keyboard.
Tip: If your keycaps are heavily stained or have stubborn marks, you can use a keycap cleaner solution or a mixture of water and vinegar for more thorough cleaning.
4. Clean the Keyboard Surface
With the keycaps removed, you can now focus on cleaning the keyboard surface, including the switches and the spaces between keys. This step removes dust, debris, and finger oils from the keyboard.
How to Clean the Keyboard Surface:
- Use compressed air: Hold a can of compressed air about 2-3 inches above the surface of the keyboard and blow air in between the switches and key slots. This will help dislodge any trapped debris.
- Use a microfiber cloth: Dampen a microfiber cloth with water or a mild cleaning solution (ensure it’s not dripping wet) and gently wipe down the keyboard surface. Focus on the spaces between the switches and around the edges of the keyboard.
- Cotton swabs for hard-to-reach areas: Use cotton swabs to clean any small gaps or grooves where the cloth or air can’t reach.
5. Deep Clean the Switches (Optional)
If you’ve noticed that your keyboard isn’t as responsive or if dirt has built up in the switches themselves, it may be time for a deeper cleaning. This step is optional but can be helpful if you want to keep your switches functioning smoothly.
How to Deep Clean Switches:
- Use a switch cleaning solution: Contact cleaner or a mild cleaning solution can be sprayed into the switch housing. Make sure you use a solution that is safe for electronics.
- Lubing the switches: If your keyboard uses mechanical switches with lubing capabilities, this is a good time to apply switch lubricant to maintain smooth key presses and reduce friction.
6. Reassemble and Test the Keyboard
Once everything is cleaned and dry, it’s time to put your keyboard back together. Start by carefully placing each keycap back onto the corresponding switch. Press down gently until you hear a click, ensuring the keycap is securely attached.
Final Check:
- Test each key: After reattaching all the keycaps, plug your keyboard back in and test each key to ensure it’s functioning properly.
- Check for any sticky or unresponsive keys: If any key isn’t working correctly, double-check that it’s properly seated or consider cleaning it again for thoroughness.
Conclusion: Enjoy a Clean, Well-Functioning Keyboard
Cleaning your mechanical keyboard not only keeps it looking new but also ensures that it continues to perform at its best for years to come. By following these 6 easy steps, you’ll extend the life of your keyboard and enjoy a smooth, responsive typing experience.
Regular cleaning is essential to maintain your keyboard’s aesthetic appeal and functionality, so make it a habit to clean your keyboard every few months, or sooner if you notice dust or grime building up.
FAQs
Q1: How often should I clean my mechanical keyboard?
We recommend cleaning your mechanical keyboard at least once every 2-3 months. However, if you use your keyboard heavily or notice dust and grime buildup, you may want to clean it more frequently.
Q2: Can I clean my keyboard with alcohol or cleaning wipes?
It’s best to use a mild solution (like water with a little dish soap) or isopropyl alcohol for cleaning the keyboard surface. Avoid using harsh chemicals that could damage the keycaps or the surface.
Q3: Is it safe to use compressed air on my mechanical keyboard?
Yes, compressed air is safe for cleaning your keyboard. Just make sure to hold the can upright and maintain a distance of 2-3 inches from the keyboard to avoid any liquid spray.
Q4: What should I do if my keycaps are very dirty or stained?
If your keycaps are heavily stained, you can soak them in a solution of water and vinegar or use a keycap cleaning solution. A soft brush can help remove tough stains.
Q5: Can I clean my keyboard without removing the keycaps?
While you can clean your keyboard’s surface without removing the keycaps, removing them allows for a much more thorough cleaning, especially for dirt and grime that accumulates between the keys.
Leave a comment
This site is protected by hCaptcha and the hCaptcha Privacy Policy and Terms of Service apply.