





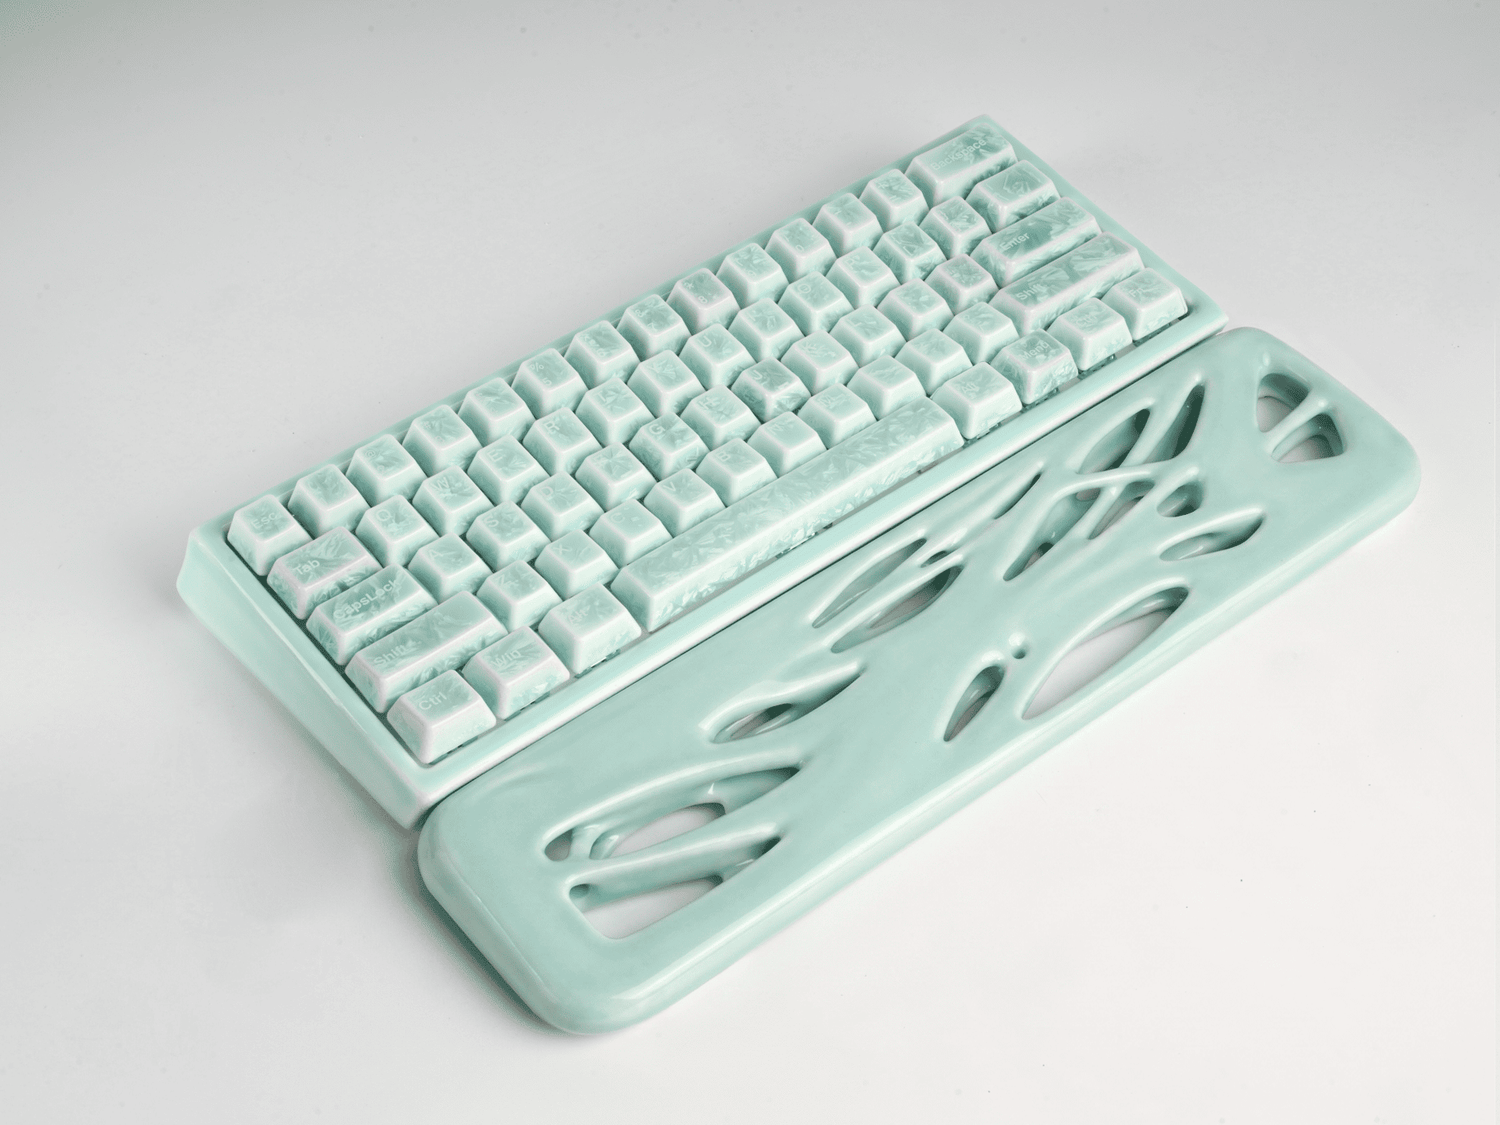
Mechanical keyboards are investment pieces. Whether you use them for intense gaming sessions or heavy daily typing, dust, debris, skin oils, and accidental spills are bound to find their way between your switches. Neglecting maintenance doesn't just look unappealing—it can significantly degrade your typing experience and shorten the lifespan of your hardware.
This comprehensive guide breaks down the absolute best way to clean a mechanical keyboard safely, from a quick surface dust-off to a thorough deep clean.
Preparation: What You Need
Before you begin, gather the right maintenance tools to avoid scratching your chassis or damaging delicate keycap stems (especially if you are using premium artisan or ceramic keycaps).
- Wire keycap puller (safer than plastic ring pullers which can scratch cap sides)
- Switch puller (only needed if you have a hot-swappable keyboard)
- A container filled with warm water and mild dish soap
- Microfiber cloths and Q-tips (cotton swabs)
- A can of compressed air or a specialized electronic blower
- A soft-bristle brush or clean paintbrush
The 5-Step Deep Cleaning Guide
Step 1: Unplug and Document
Safety first: always unplug your keyboard from your computer. If it is wireless, turn off the power switch and remove the batteries. Next, take a clear photo of your keyboard layout with your phone. This gives you a fast visual reference map for when it is time to reassemble the keycaps.
Step 2: Remove and Clean the Keycaps
Using your wire keycap puller, gently push the wires down over the sides of a keycap, twist slightly to catch the corners under the bottom edge, and pull straight upward with steady pressure. Avoid pulling at an angle to prevent flexing the switch stems.
💡 Pro Tip for Deep Clean Mechanical Keyboard Care:
Drop your removed keycaps into a bowl of warm water mixed with a few drops of mild dish soap. Let them soak for 15–20 minutes. Use a soft brush to remove any stubborn grime, rinse thoroughly with fresh water, and lay them out stem-side down on a dry towel.
Crucial: Allow them to dry completely for at least 4 to 6 hours before reassembly to prevent moisture from trapping inside the switches.
Step 3: Clear Out Debris from the Plate
With the keycaps removed, turn the keyboard chassis upside down over a trash can and give it a firm tap to loose larger crumbs, hair, and dust. Next, use a can of compressed air held at an angle to blow away the remaining debris stuck between the switches. Work in rows from the top down to clear out the plate surface completely.
Step 4: Detail with Microfiber and Q-Tips
For stuck-on grime or skin oil on the keyboard frame and switch housings, lightly dampen a microfiber cloth or a Q-tip with water or 70% Isopropyl Alcohol (IPA). Ensure the cloth or swab is only slightly damp—never dripping wet. Carefully scrub the flat surfaces of the plate and the tight gaps between individual switches.
Step 5: Reassemble with Precision
Once you are absolutely certain that both the keyboard body and the washed keycaps are completely dry, pull up the photo you took in Step 1. Align each keycap stem perfectly over its corresponding switch and push straight down firmly until it snaps flush into place. Plug your keyboard back in and test your keys!
Maintenance Frequency Cheat Sheet
| Cleaning Level | Recommended Frequency | Core Tasks |
|---|---|---|
| Surface Maintenance | Once a week | Quick wipe-down with a microfiber cloth; shaking out crumbs. |
| Standard Clean | Once a month | Compressed air blast; brushing between keycaps with a soft brush. |
| Deep Clean | Every 3 to 6 months | Full keycap removal, soaking keycaps, plate detailing, and structural dusting. |
Frequently Asked Questions
❓ Do mechanical keyboards need maintenance?
Yes. Because mechanical keyboards have open gaps around the switch stems and plates, they easily trap external dust, pet hair, and skin flakes. Regular maintenance prevents switches from sticking, preserves acoustics, and protects the underlying PCB from conductive dirt build-ups.
❓ What is the best way to clean a mechanical keyboard?
The best way to clean a mechanical keyboard involves removing the keycaps entirely using a wire puller, washing the keycaps in soapy warm water, blowing out loose debris from the plate with compressed air, and using lightly damp Q-tips to detail tight crevices around the switch frames.
❓ Can you clean a keyboard with a household vacuum?
While shaking loose dirt into a trash can is recommended, using a standard household vacuum cleaner directly on a bare PCB or open switch plate is highly discouraged. Standard vacuums can generate significant amounts of static electricity capable of frying sensitive electronic components on your keyboard.
❓ What about accidental liquid spills on a keyboard?
If you spill liquid on your keyboard components, immediately unplug the device. Flip it upside down over a towel to drain. If it's a sticky or chemical substance, you may need to open the case and clean the entire affected area with high-purity Isopropyl Alcohol (99% IPA) to dissolve residues without eroding copper traces.


Leave a comment
This site is protected by hCaptcha and the hCaptcha Privacy Policy and Terms of Service apply.